
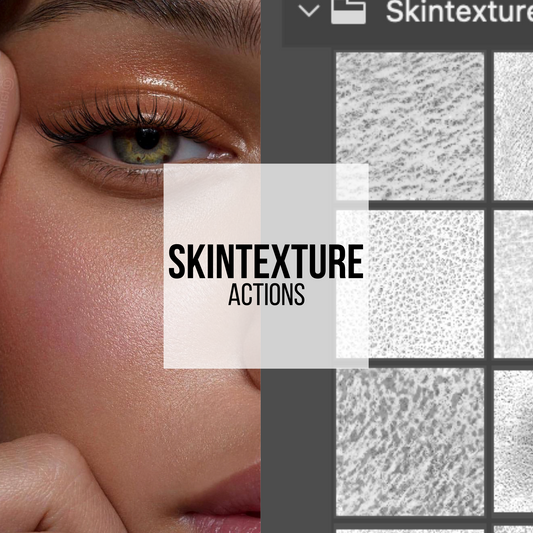

Getting that perfect skin texture in Photoshop? It's a total game-changer for photographers and digital artists. Whether you're sprucing up a portrait or diving into a creative project, nailing this technique will seriously up your game. In this guide, we'll take you step-by-step through the process of achieving flawless skin texture using Photoshop.
What is Skin Texture and Why Does it Matter?
Skin texture is all about the natural look of skin—pores, fine lines, and those little imperfections. Keeping that texture in your photos is super important for a realistic vibe. Over-editing can make the skin look fake and plastic-like, while too little editing might not show off the subject’s best features. Striking the right balance is key for professional photo editing.
How to Achieve Perfect Skin Texture
Follow these steps to get that perfect skin texture in Photoshop:
Step 1: Duplicate the Background Layer
First things first, open your image in Photoshop. Duplicate the background layer by pressing Ctrl + J (Windows) or Cmd + J (Mac). This keeps your original image safe and gives you a backup.
Step 2: Apply Frequency Separation
Frequency separation is like magic—it splits the image into texture and color layers.
- Create Two Duplicate Layers: Name them "High Frequency" and "Low Frequency".
- Blur the Low Frequency Layer: Select the Low Frequency layer and apply a Gaussian Blur (Filter > Blur > Gaussian Blur). Blur it until you can't see the skin imperfections anymore, but you can still make out the facial structure.
- Apply High Pass Filter to the High Frequency Layer: Select the High Frequency layer, go to Filter > Other > High Pass. Adjust the radius to catch the fine details (usually around 2-3 pixels).
Our High End Retouching tools make frequency separation a breeze, and our masterclass dives deep into perfecting this technique.
Step 3: Blend the Layers
Change the blending mode of the High Frequency layer to Linear Light. This merges the texture from the High Frequency layer with the color from the Low Frequency layer, letting you control both independently.
Step 4: Retouch with the Healing Brush
Select the High Frequency layer and use the Healing Brush tool (press J) to zap blemishes and imperfections. Since you're only tweaking the texture, the underlying colors and tones stay the same, giving you a natural look.
Step 5: Smooth Skin with the Mixer Brush
To smooth out skin tones without losing texture, grab the Mixer Brush tool. Set it to clean the brush after each stroke and adjust the wetness to around 20%. Gently paint over areas of the skin to blend colors smoothly. Our tools help achieve a flawless finish without breaking a sweat. They make it easy to achieve a flawless finish in no time.
Step 6: Dodge and Burn
Dodging and burning bring out highlights and shadows, adding depth to the skin.
- Create a New Layer: Set it to Soft Light blending mode and fill it with 50% gray.
- Use the Dodge Tool (O): Lighten areas where light naturally hits the skin.
- Use the Burn Tool (O): Darken the shadows for more contrast.
Step 7: Final Touches
Tweak the overall tone and contrast of your image using adjustment layers like Curves or Levels. This ensures the skin tones are consistent and the image looks cohesive.
Tips and Reminders for Perfect Skin Texture
- Less is More: Avoid over-editing. Subtle tweaks often give the best results.
- Work Non-Destructively: Always use layers and masks to keep the original image intact.
- Zoom In and Out: Regularly zoom in to work on details and zoom out to see the overall effect.
Conclusion
Getting perfect skin texture in Photoshop takes practice and a keen eye for detail. By using techniques like frequency separation, careful retouching, and dodge and burn, you can enhance your photos while keeping a natural look. Our Masterclass helps you to stand out master the Skin texture Game. Happy editing!